
What is Virtual Furniture Staging? It’s the process of turning empty or unfurnished real estate photos into virtually staged works of art. This can help increase property awareness and sales without breaking the bank.
Traditional furniture staging requires hiring a team of designers and movers to transport the furniture into your unfurnished space or showroom. This can be a time-consuming process that costs thousands.
We want to share with you some DIY design tips, especially during this trying times, where all transactions are recommended to be done online, even in the field of real estate, architectural design and construction.
Below is a repurposed article from 5 years ago, from our old blogspot blog with a few updates, while we are still working on new content. The tools we used are SketchUp Make, an old version of Vray and Photoshop CS… I already forgot, so carry on.
If you are a fast learner and knowledgeable with 3D modeling and rendering software such as SketchUp, Vray and Photoshop, this tutorial will be easy peasy!
How to use SketchUp and Vray for Virtual Furniture Staging?
There are several ways we can use SketchUp’s Match Photo feature and this tutorial is just one of them. We like to show our clients exactly what a built-in project will look like before we get started on construction.
With SketchUp’s Match Photo feature, we can build a 3D model on top of the actual photo of the space we will be working on to show how our design proposal will fit in with the old or the existing. This way, we’ll have a better chance of avoiding any costly surprises and labor pains.
STEP 1: THINK BEFORE YOU SHOOT
3 things to consider before taking the photo we’ll import:

- Find the best view of the room when you take a picture.
- Look for 3 axis lines in the photo by including straight lines such as corners, doors, windows, etc.
- Make sure to take a couple of key measurements from the physical space for scaling later on.
STEP 2: IMPORT THE PHOTO IN SKETCHUP
Click Window then Match Photo.
Then click the plus (+) sign on the upper left corner of the dialog box. And your scene should look something like this. Make sure you select Inside (the one with the red border) beside Style since we are creating an interior scene.
Take a look at the green, red and blue lines. These represent the axes. Just drag ’em on the corners and edges in the picture to assign the axes.
STEP 3: TRACE THE PICTURE
This is where the magic happens. It’s like you’re tracing a photo like you would manually, but inside SketchUp, you’re tracing a photo in 3D, like the photo below. Pretty cool right?
When you’re done tracing, select Project textures from photo from the Match Photo dialog box.
STEP 4: ADD MATERIALS AND COMPONENTS
Here are some of our favorite resources that you can look at! Shh! Don’t tell anyone.
I’ll talk about importing and exporting 3D models in different softwares and file formats in a different blog post.
STEP 5: RENDER
Then just adjust the colors, brightness and contrast in Photoshop, crop . . . AND VOILA!
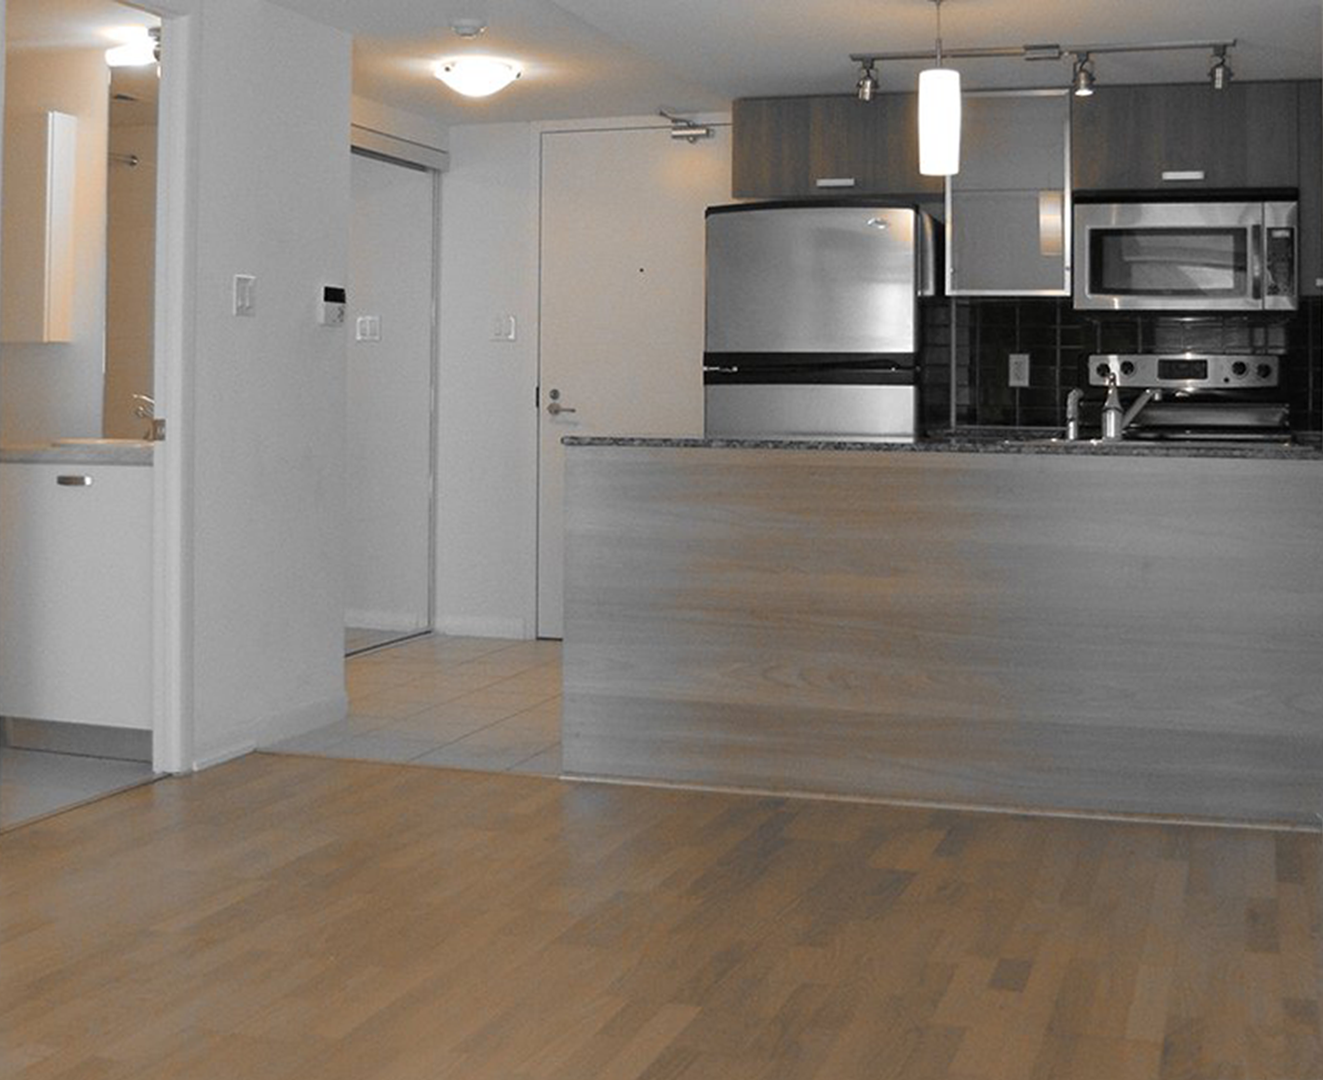
Virtual Furniture Staging Before and After
Not familiar with Sketch Up, just Intericad hehe. Shared this article on my Facebook page: Stretch Your Peso. 🙂
Thanks for sharing. =) Sketchup is really easy and its free. You can also buy the pro version. Yung Intericad kc may USB key. Hassle.
My sister is an Architecture student and She usually use Sketchup. I will definitely share this to her and I know marami pa syang matututunan sau. Thanks for this post 😉
Aww. So happy to hear that. Knowledge is free (College fees aren't) so go for it! You're very much welcome! =)
Wow, I have to show this to my boyfriend, he's also using sketchup in creating a plan for my parents' house ^^
Go! =) Is he also an architect? I have a bunch of other work samples I did for my clients and colleagues in our IG account. Feel free to check it out. Baka may magustuhan kayong style. =D
Say, I never thought Sketch-up used to have such feature like this?! I must share this with my sister since she uses this program (an alternate from AutoCad) since she's a freelance interior designer by profession.
Just share away! I'd love to see her works too and maybe she could help a sister out! Hehehe. =)